Have Your Say
1st December 2023

Getting Things Finished
Projects can be finished in a multitude of ways and sometimes, how we get those final stitches laid can differ from stitcher to stitcher. Over the past few weeks, we have received some wonderful emails about unique tips and tricks to get some of those harder to complete UFOs finished. We also received some other must share emails, that we’ve added at the end of this week’s Have Your Say. Shall we start with a few responses we received to issue #403?!
Firstly, Vikki spoke about a good friend once telling her to ‘not rush through a project, just enjoy the process.’ Vikki used to work at a yarn shop where once a month, for a week, everyone would spend time completing a UFO. They would help each other and found that the only thing people hadn’t completed were things they didn’t like to do, but there was always someone in the shop who didn’t mind doing it and all the projects would get completed!
Then Michelle said the opening article in issue #403 about quitting a needlework project really hit home. Michelle and a wonderful stitching friend of hers exchanged unfinished projects. ‘She completed a needlepoint project I had but didn’t want to finish and I finished a linen piece she had. We gave ourselves a year and were happy to swap when they were completed! I always think of her when I see that piece.’
We received a new motto that Pat will be using from now on. ‘Over the many years I have been stitching, there have been so many times I would self-criticise every skipped stitch, using the wrong colour green, or comparing my work to the designer’s. It got to be a little frustrating. I came to a point where I just started to let all the mistakes live where they were and used them as a learning experience. I believe there is no such thing as perfection, just practise.’

Finally, from issue #403, in response to the mention of Debbie Preissinger’s article about packing away joyless projects for another day, Sylvia emailed to tell us that if a book she has started isn’t pleasing her she will put it away for later finding something else to read that sparks happiness within.
We were intrigued by an email from Jane that had a link she wanted to share to an article called Cheat sheet for 2,000 years of traditional embroidery. She explains the article is about chasu, the Korean word for embroidery, which is a method of cultivating beauty in every corner of daily life. She thought it might inspire some of the Inspirations community.
‘Our two children are adopted from Korea, and I like to honour their Korean cultural background by giving them small gifts made in Korea that reflect these traditions. I’m thinking of how I could translate some of these designs into Christmas ornaments for my grandsons!’

Now, in the spirit of Christmas, Jeanne would like to pass along a hint for using DMC’s Diamant threads. She is using them to create Christmas ornaments and she has noticed the thread likes to ravel as you use it. A ‘stitching sister’ gave her a very helpful hint to use Elmer’s Washable School Glue Stick on the ends of the thread letting it dry before using. She says it works like a charm!
Finally, we have a recipe offering from Jane. This time her helpful recipe is for using up small amounts of leftover wool thread.
Leftover Wool Threads Recipe
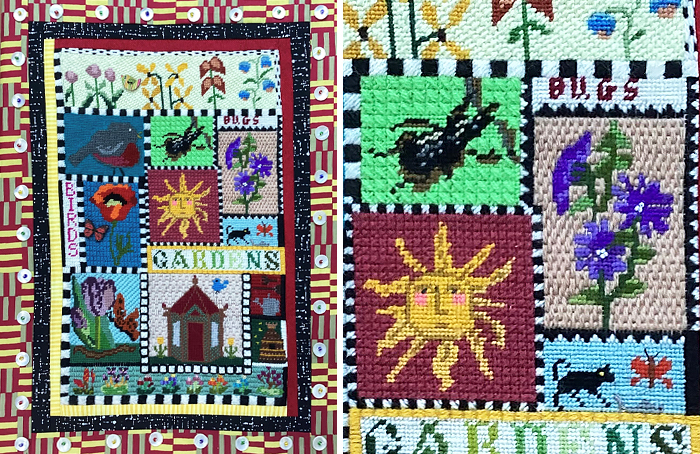
‘Sometimes I find I can never match the dye lots of leftover thread to new threads for completing a new project but can’t think of a project that could incorporate them. This Needlepoint Sampler can solve that problem. I didn’t purchase any new thread, I just designed around the colours I had tucked away over the years.’
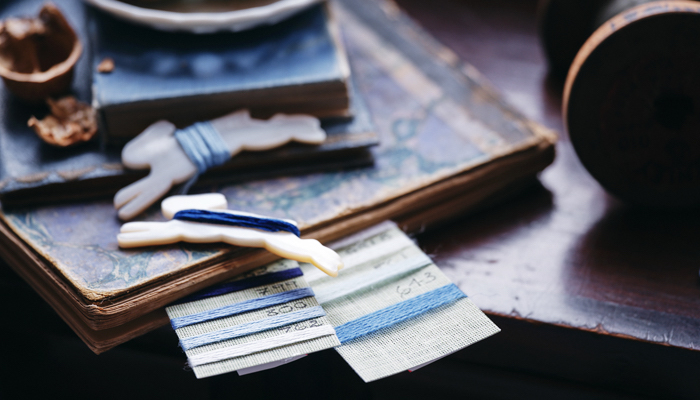
Materials
- Books, magazines, and patterns with small motifs
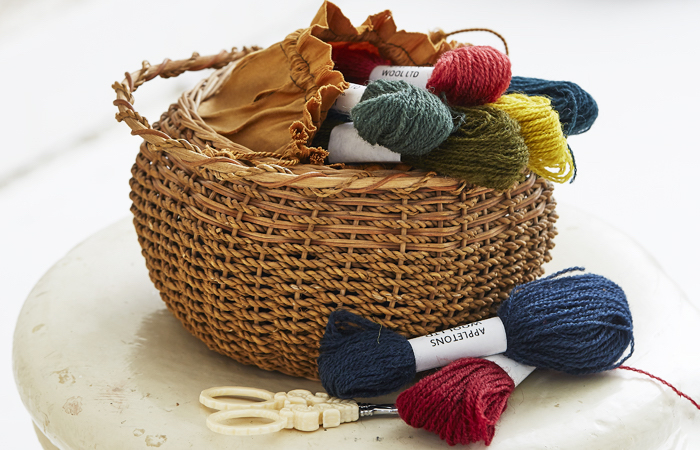
- Leftover wool thread
- Fabric (with outside perimeter marked)
Method
- Search print material for small motifs in the colours of your leftover wool. (‘The robin is taken from Sweete Bag by Victoria Laine published in Inspirations issue #99.’)
- Sort your wool into colour families and then into groups of small and large amounts of threads. The group of small amounts of matching dye lot threads will be used to stitch motifs and the group of large amounts of thread will be used for filling stitches.
- Stitch a motif.
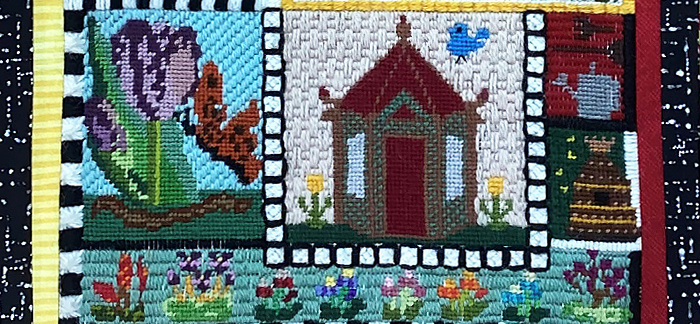
- Outline a block around the motif and choose a stitch to fill the block. Stitch a border around each block. Continue this process until you have as many blocks as needed to reach the marked perimeter.
- When your blocks are completed stitch an outside border around the entire piece.
‘I hope this project will inspire you to look at leftover threads in a new way and encourage you to design an exciting and fun project.’
Another wonderful recipe, Jane! We’re off to organise some stitching sessions with friends to see if they’re up to finishing off some of our projects… in the meantime if you’d like to add to any of our conversations we’d love you to email us HERE!