Inspirations Magazine Behind the Scenes Pt 4 |Photography
21ST NOVEMBER 2025 - ASU #503
We hope you’re enjoying our behind-the-scenes series as each week we take a look at a different process involved in producing an issue of Inspirations magazine.
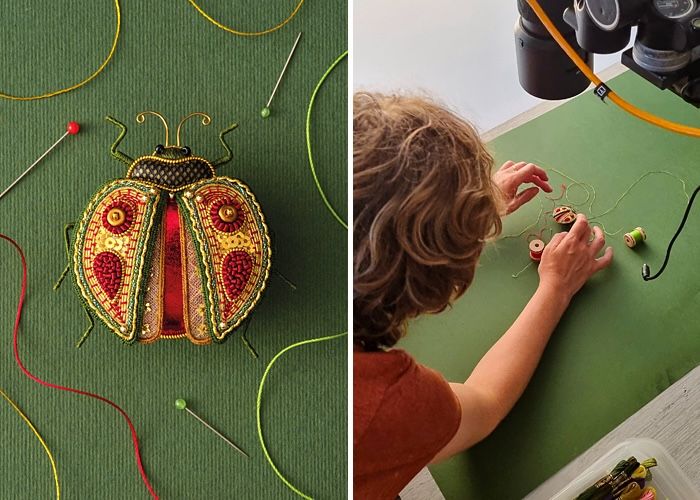
It’s lights, camera, action this week as we go on location for a magazine shoot and learn what goes into producing those glorious photographs…
Part 4 - The Photography
If you’ve ever tried to take your own photo of a finished piece of needlework, you’ve probably realised that getting a great shot is often harder than it seems.
As stitchers we spend hours creating the most magnificent pieces of stitched art, and yet when it comes to showing off our work through the lens, the image we take often falls well short of doing our needlework justice.
Why is it so tricky to take great-looking photographs of our spectacular embroidery?
If it makes you feel any better, needlework can be one of the most challenging subjects to photograph, so it’s certainly not just you… we all face the same dilemma.
At Inspirations Studios, the process of taking a well-crafted photograph of a stitched piece begins long before we think about any equipment, lighting, or even a location. The first two things we start with are:
1/. - The wonder point
2/. - The story
If you’ve read enough of our publications over the years, you’ve probably heard a couple of our favourite sayings, like ‘None of us is as smart as all of us’ and ‘Every stitched piece has a story to tell’.
As a team, our job is to come together and determine how best to honour the privilege of publishing the work of some of the most talented artisans in the world.
Part of this process is determining the wonder point of each project.
What is the central element that makes this project particularly special?
It might be the way it’s designed, the colours, the techniques used, the finish, or perhaps the designer has shared a specific backstory with us.
Whatever the wonder point happens to be, it’s of upmost importance to us that we celebrate and showcase this element and incorporate it into the storytelling.
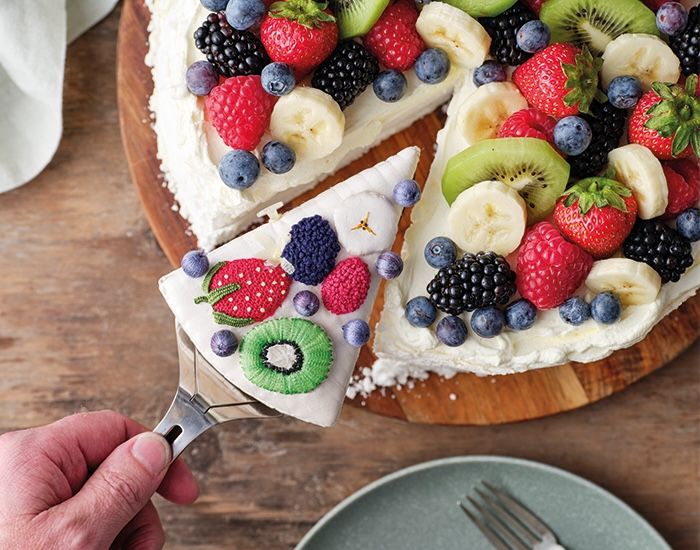
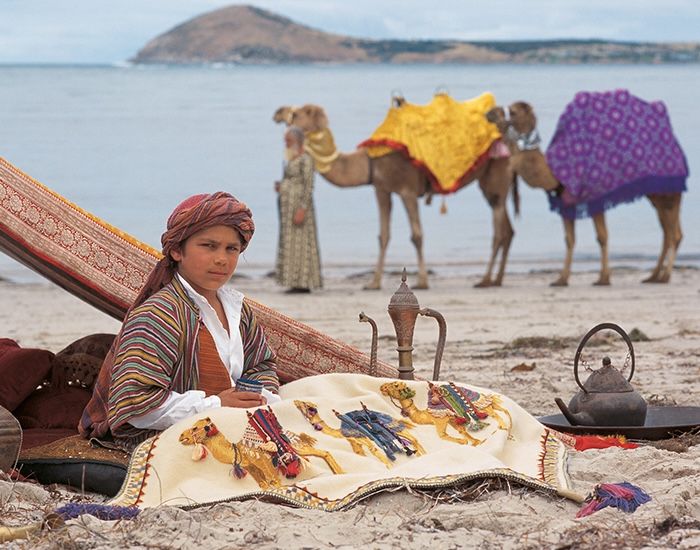
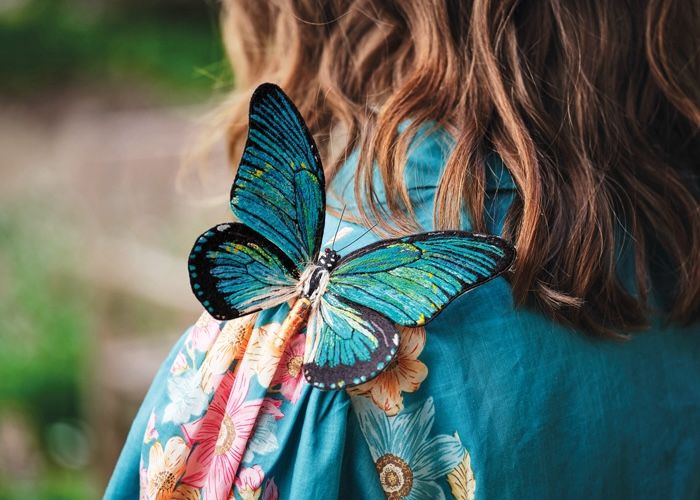
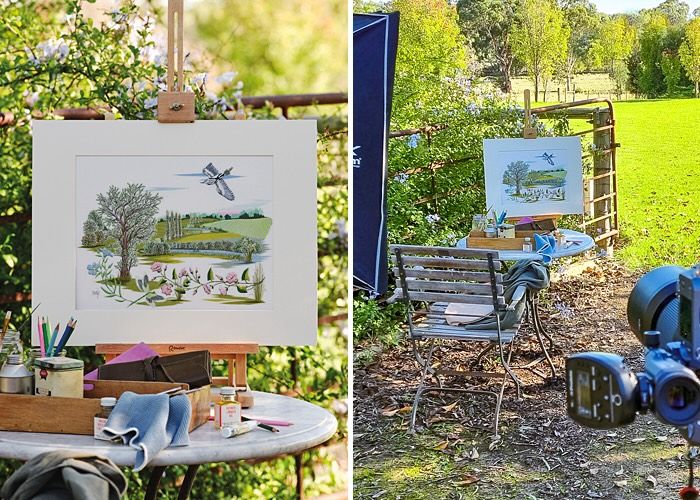
When framing the story telling aspect of each piece, there can be a lot of creative freedom applied as we seek to convey the essence of the needlework. Sometimes we’re working to a practical application and seek to position a cushion or needlework accessory in situ to demonstrate its use.

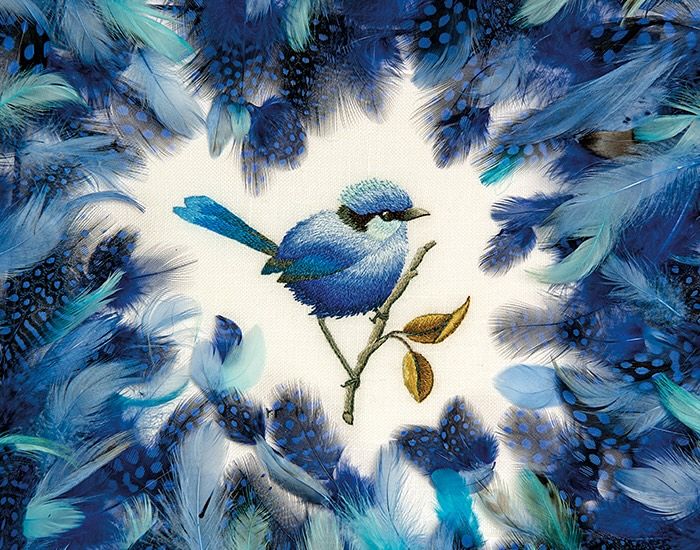
Other times it’s a much more ethereal and conceptual story we’re telling, one that plays off specific elements or materials from a project.
Once we’ve established the wonder point and the story we’re telling, we have the building blocks required to plan the next layer - props, styling, and location.
Before we get to that, it’s time to reveal a little trick for young players when it comes to creating an environment to photograph needlework: scale.Before we get to that, it’s time to reveal a little trick for young players when it comes to creating an environment to photograph needlework: scale.
There’s a reason it’s called ‘the fine art of needlework’ - as anyone who has ever threaded a needle can testify, stitching is, for the most part, a small-scale endeavour.
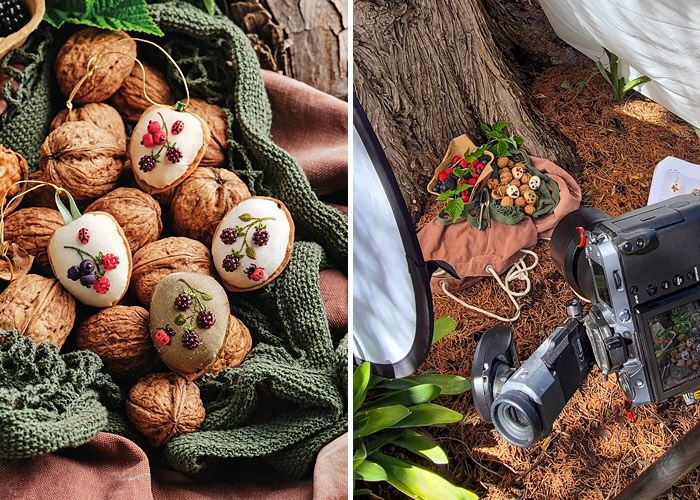
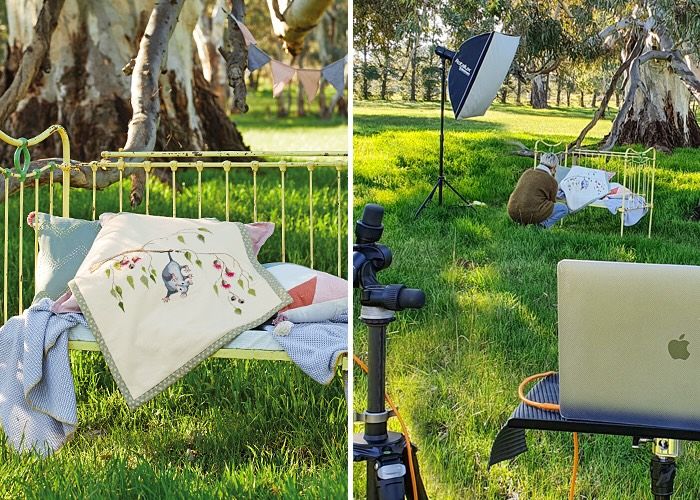
You quickly realise how small some of the projects we work with are when you begin sourcing props and identifying locations to shoot, everything next to the stitched project can often appear giant and largely out of proportion.
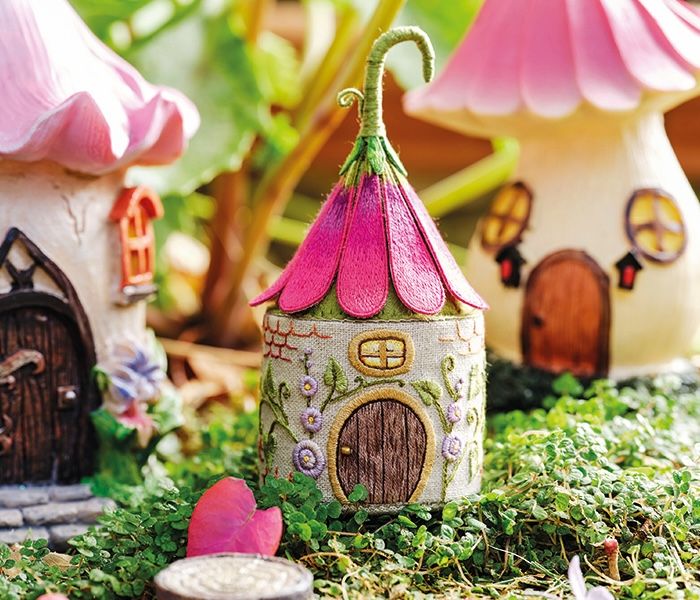
In response, we often create little worlds in miniature scale to best showcase some of the projects we publish.
Taking the small-scale nature of the projects into account, we then determine the best locations, source the appropriate props, imagine the styling we want to use, and schedule our photography days.
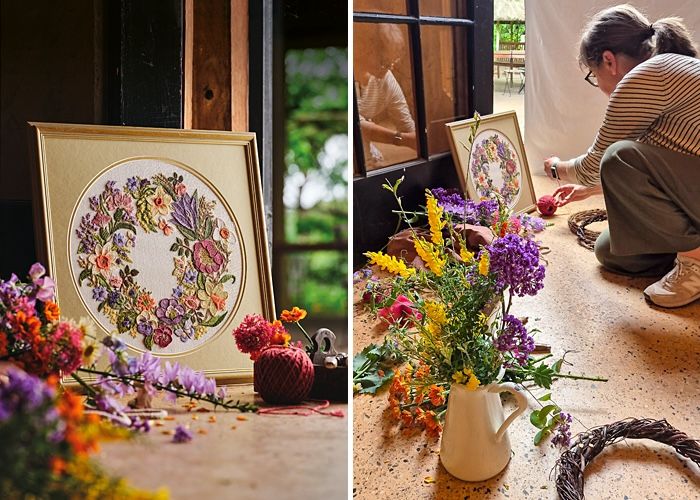
The days preceding a shoot are filled with myriad details - dozens and dozens of props to source (some new, many from our library, lots of flowers and fresh produce), projects to prepare (which might mean new framing or removing existing framing - no glass allowed!), touching up all the projects to look their best, catering to organise, call sheets and shot lists to distribute, promo shots to consider, and equipment to prepare.
The key to a successful photo shoot is preparation, preparation, preparation to ensure that once on location or in the studio, everything and everyone works together like a meticulously well-run watch.
Oh, and the other key is have fun - because if we’re all enjoying what we’re doing, it shows in the end result!
Some projects are quick to photograph, others more complex and time-consuming. You never know which are which until the day, and often it’s the opposite of what you might think.
Our stylists will often bring with them many more props than we’ll use in the final shot because you never know what is needed to add that little magical element here or there.
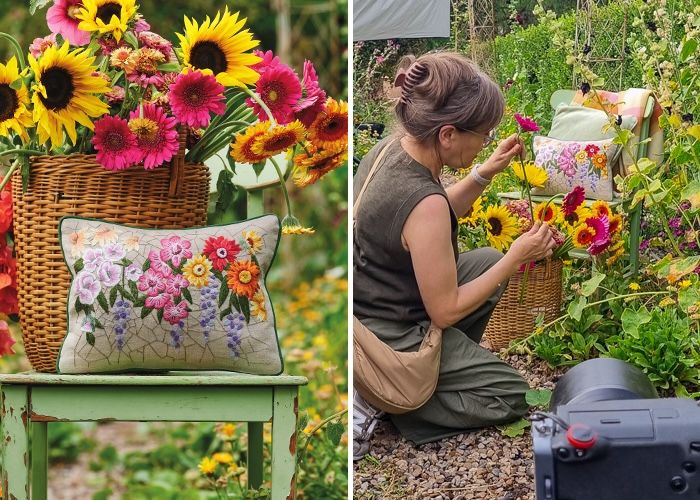
Every project is photographed in two or three different locations or ‘set-ups’, which often means we’re shooting inside then outside, sometimes in natural light, sometimes we need lots of lights and each set-up is captured in both landscape and portrait aspect ratios, plus lots of detailed close-ups.
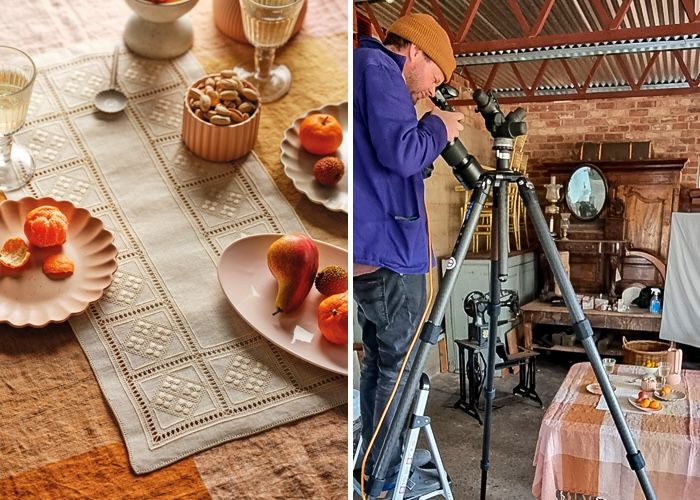
It’s often a race to keep the flowers we’re using on set looking fresh, a game of patience waiting until every single element in the shot looks perfect, and an exercise in attention to detail to ensure every aspect of the needlework project itself looks like a million dollars in every frame.
Circling back to our question at the beginning of this article ‘why is it so hard to take your own great-looking photos of embroidery?’ if you were to spend a day on location with the Inspirations crew, you’d feel a lot better about your efforts!
We can tell you that the amount of time, precision, skill, and experience that goes into making every photo look as good as it does, is not for the faint-hearted.We can tell you that the amount of time, precision, skill, and experience that goes into making every photo look as good as it does, is not for the faint-hearted.
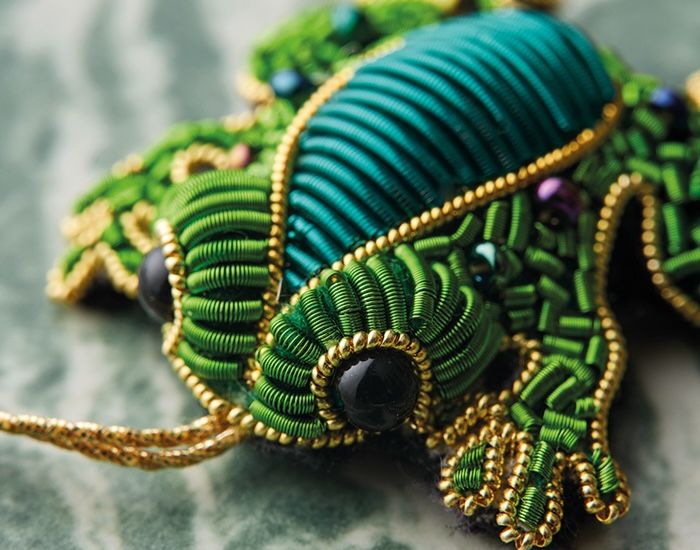
Aside from the storytelling, styling, props, and locations, the lighting techniques used to ensure that all the threads glisten and reflect in the best way possible are all part of the magic that brings the world’s most beautiful needlework to life.
All this, and we haven’t yet begun to talk about the graphic design process, which adds another layer of beautification! But more about that next week…